Your keyboard odyssey begins here!
Every thock counts, and we’re thrilled you’re along for the ride.
So, why build a custom keyboard? Because it’s not just a project, it’s an passion.
You’ll grin like a kid with a new toy. You’ll be able to craft everything to your liking.
This includes the sounds, the looks, the feel. And it’s easier than you think.
We promise it’s a rabbit hole worth going into.
So, let’s not waste anymore time and get into it!
*Keyboard Forge is a participant of affiliate programs and earns from qualified purchases*
Build Your Own Keyboard Sound
You’re tapping away, and every key is tuned just for you. Building your own custom keyboard lets you craft a sound masterpiece that’s completely yours.
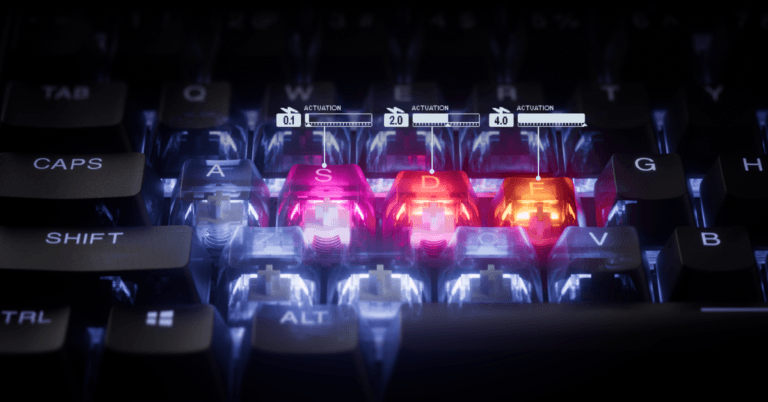
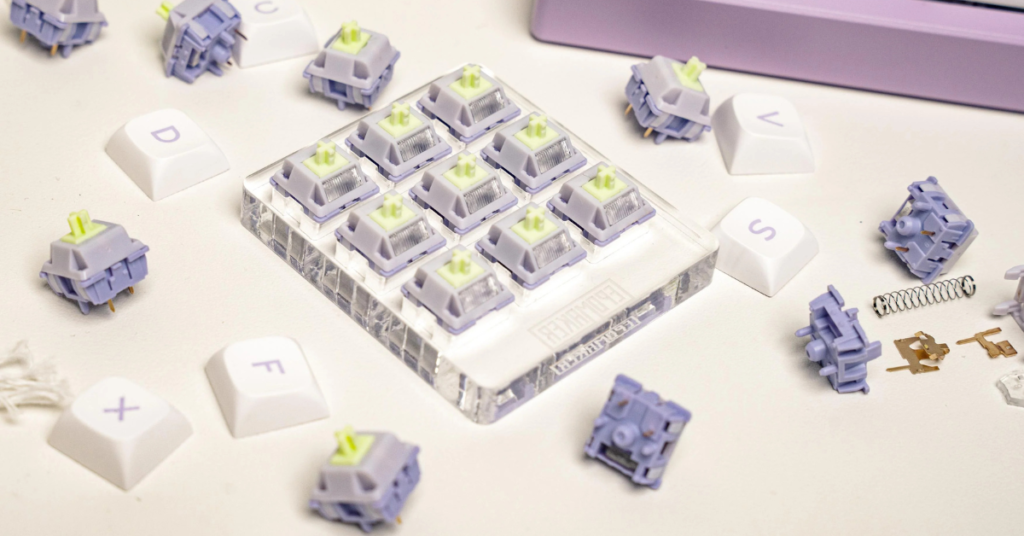
Switches (the little mechanisms under each key that control how it feels and sounds) are your instruments. You pick what you want.
Crave a thocky bass that rumbles like a storm? Linear switches like NK_ Creams are your go-to.
Want a sharp, clicky snap like popping bubble wrap? Gateron Melodics are the way.
Not sure which switches to pick? Check out our keyboard switch guide.
You can even tweak it further:
- Add foam: Use shelf liner or poron inside the case to hush harsh vibes.
- Lube switches: Smooth out all 100+ for a dreamy glide.
We’ve even got a guide on keyboard lubes and a guide on keyboard foams to help you out.
Your desk becomes a soundstage. You can even tweak your keyboard for specific scenarios.
Soft for late nights or lively for gaming marathons.
Picture typing a memo to a satisfying thock-thock-thock. You’ll smile every time.
Your ears will perk up, your fingers will dance, and you’ll wonder, “How did I ever live without this?”
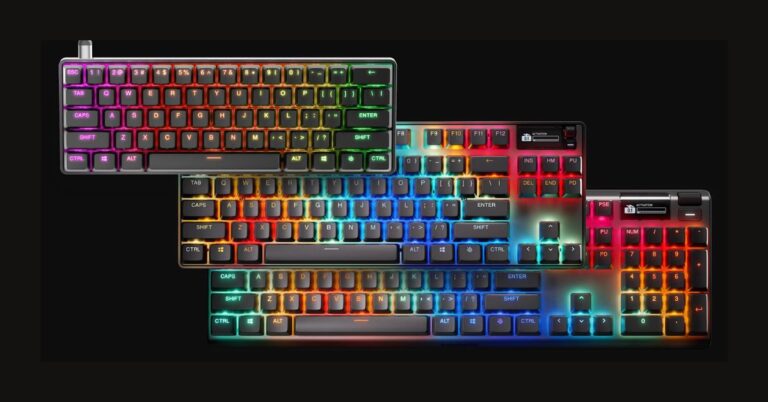
Create Your Own Keyboard Style
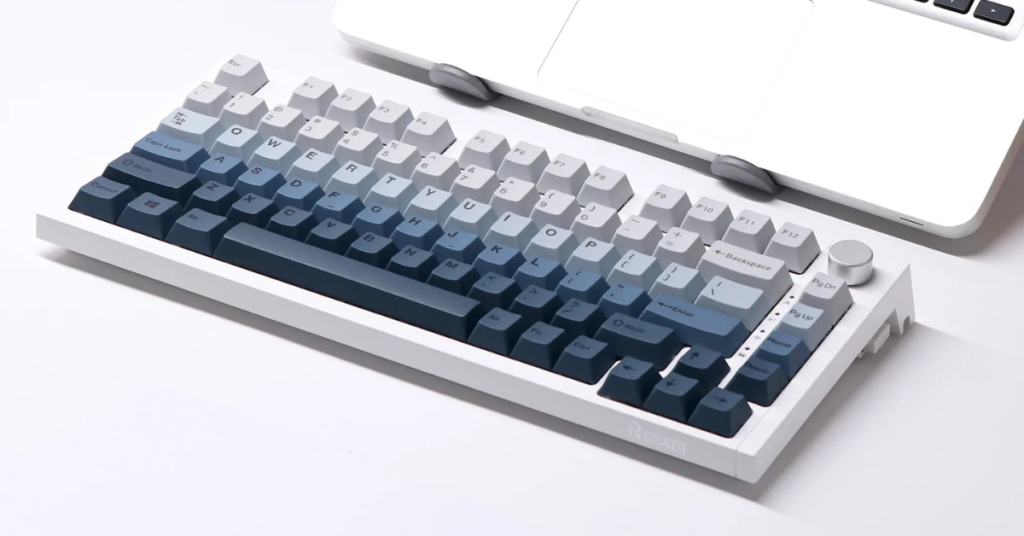
Your style might lean “sweatpants chic,” but your keyboard? It can be a total diva. Building your own lets you design a look that’s all you. And, it’s so easy you’ll feel like a genius.
The case (the keyboard’s outer shell) and keycaps (the tops of the keys you press) are your canvas. Pick a case to set the mood. Wood for a cozy, cabin glow or aluminum for a sleek, sci-fi edge.
Keycaps? You’ll go wild! Choose sets with tiny cats, retro vibes, or neon glow. Mix and match. Put a skull on Esc, a moon on Space.
Overwhelmed? We’ve got a keyboard keycaps breakdown here.
Add RGB lights to be that much extra. Dim for chill (soft glow for late-night vibes) or Crank for wow (vibrant colors that pop).
Your setup becomes a star. Picture a purple rig with Drop MT3 Cyber Keycaps. Scroll social media for inspiration. You’ll find folks sharing mesmerizing builds daily.
No art skills needed, just a spark. Your keyboard will do the flexing.
Building Your Own Keyboard Is Easier Than You Think
Worried about building a keyboard?
Think soldering and circuits spell doom?
Chill out! It’s way easier than you think. You’ll craft your first board faster than a sitcom binge.
Start with a beginner-friendly keyboard kit. You just need a case, plate, PCB and you’re all set.
We go into detail about keyboard plates and about keyboard case material here.
Building is a cinch:
- Switches: Click them into place (no soldering needed with hot-swappable boards).
- Keycaps: Pop them on and you’re done.
- Tools: Just a screwdriver or switch puller, or (sometimes) nothing at all!
Learn more about hot-swappable keyboards here.
Want to solder? It’s just melting tiny dots. Check YouTube tutorials for easy guides.
Mess up? No stress. Reseating a switch fixes most flubs in a breeze.
Help’s everywhere. The r/MechanicalKeyboards subreddit is buzzing with geeks who’ll flood you with tips.
Most builds take 2-4 hours, perfect for a fun weekend project.
You’ll laugh at how simple it is. Snap it together, and you’re a tech champ.
Here’s a quick checklist of the process:
- Pick a kit with a case, PCB, and plate.
- Snap or solder switches into the PCB.
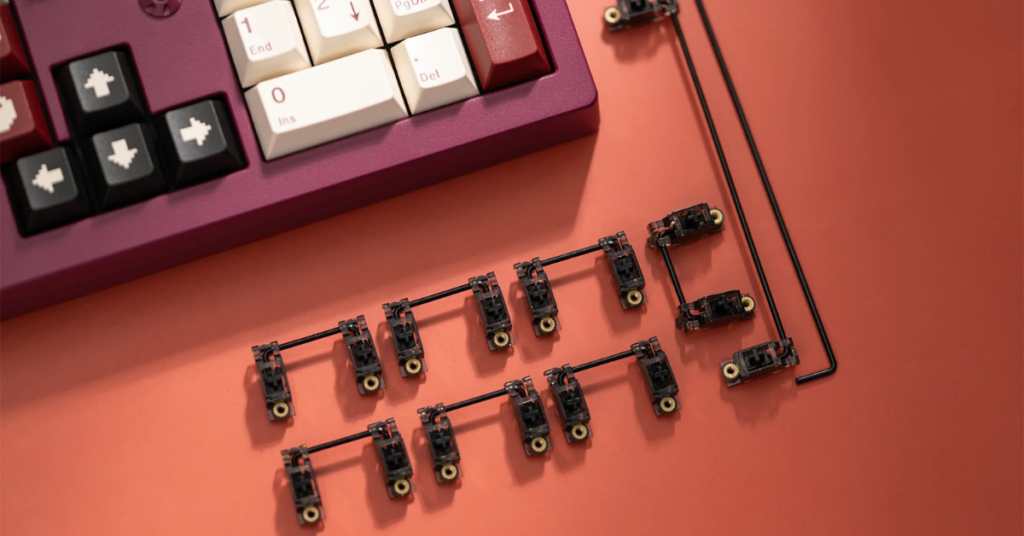
- Add stabilizers for bigger keys like Spacebar.
- Pop on keycaps and plug it in. You’re done!
Custom Keyboard Build Is Fun With Friends

You finish your board, clean colors, thocky black switches, and your friends swarm. “Whoa, let me try!” they’ll yell. Building a keyboard pulls your crew into the chaos.
Show it off! Your pals will be in awe at the sound, the looks, and the glow. “You made this?” “Yup!” you’ll proudly respond.
Share it online. Post your build and watch enthusiasts shower you with likes. Your first board might nab 50 retweets, with strangers cheering you on.
Join the community:
- Trade tips: Chat on r/MechanicalKeyboards with your new pals for build hacks.
- Swap parts: Trade spare keycaps or send switches to a newbie.
- Make friends: Connect over thocks and share your stories.
Your keyboard’s more than a tool, it’s a ticket to the party. Your desk is now your new hangout!
Build a Custom Keyboard on a Budget
Got cash to burn? Or pinching pennies?
Either way, building your own keyboard is a budget-friendly win that feels like a steal.
You can craft something awesome without breaking the bank.
Set your price. Starter kits cost $50-$100.
You just gotta add switches and keycaps and you’re set.
A full beginner build might run $100-$200 depending on what you pick.
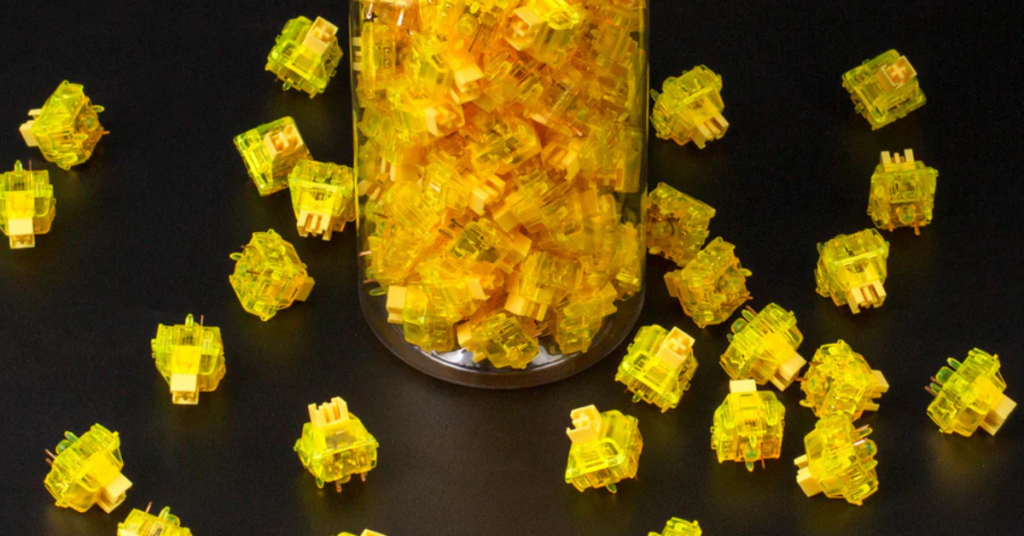
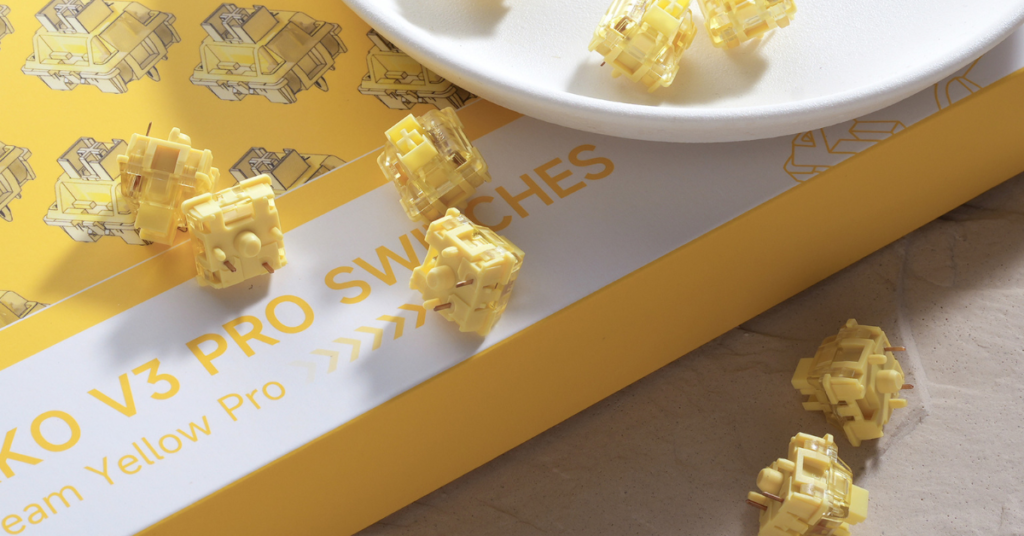
Score some deals online. Akko Creamy Yellow switches are cheap and smooth and we absolutely recommend them.
For keycaps, you’ll find nonstop bargains on Amazon.
You can build this thocky gem for less than a fancy pizza night!
We recommend you start small. Fancy switches like the Gateron Oil Kings can wait.
Go with a basic kit like the LEOBOG Hi75 and upgrade later as you grow.
Check out our barebones kit buying guide to help you choose.
If you’re feeling crafty, you can scavenge old parts to save more. It’s not just affordable, it’s a bargain boss move. Your wallet will thank you!
Building Your Own Mechanical Keyboard Is the Ultimate Hobby
You finish your first build and you’re hooked. Building a keyboard sparks a hobby that never quits!
We can pretty much guarantee you’ll fall down the modding rabbit hole. You’ll be chasing:
- Switches: You’ll swap linears for tactiles, chasing the perfect thock. Or trying to find the right blue switches to annoy your roomate.
- Keycaps: You’ll try glowy, then matte, for fresh looks. When you grow tired of them, you’ll tear them out and start over again.
- Stabilizers: Your ears will suddenly discover rattles you never heard before. You’ll go bald trying to tune your stabs to perfect.
Don’t know what a stabilizer is? Here’s our keyboard stabilizers article.
Your desk becomes a playground. You’ll flash firmware to turn Caps Lock into a disco button. You’ll learn, laugh, and level up.
You’re the mad scientist of your keyboard lab!
Ready to Build Your Own Keyboard?
You’re on the brink of a clack-tastic (or thock-tastic) world!
With a simple tune, you’ll get thocky bliss or clicky chaos.
You’ll type faster and comfier with switches made for your fingers’ flow.
So, custom or prebuilt? We think you’ll know exactly where we lean.
It’s a snap to build and it saves cash. Your pals will want to join.
Plus, it ignites a fire within you that never quits.
Every keystroke will make you smile knowing you crafted it yourself.
So, what are you waiting for? Grab a kit, pick switches, and jump in head first!
Your new board will ooze sound, style, swagger.
Your fingers will thank you, your friends will cheer, and your desk will shine.
Build your thock machine and make some noise!
Built your dream custom keyboard? Share your thocky masterpiece to join the clack crew!