So, you’re finally ready to craft a mechanical keyboard that’s 100% you. Buying a keyboard kit is your first big step.
Think of it like planning the ultimate pizza party. The kit is your crust and you get to pick every topping.
Feeling lost in the sauce? Don’t sweat it.
We’re here to guide you through the chaos with a grin.
So, let’s not waste anymore time and get into it!
*Keyboard Forge is a participant of affiliate programs and earns from qualified purchases*
What Is a Barebones Keyboard Kit?
You’re staring at this thing called a “barebones keyboard kit” online thinking, “Is this a skeleton or what?”
Don’t worry. It’s not spooky.
It’s actually just your ticket to building a custom keyboard, and it’s way simpler than it sounds.
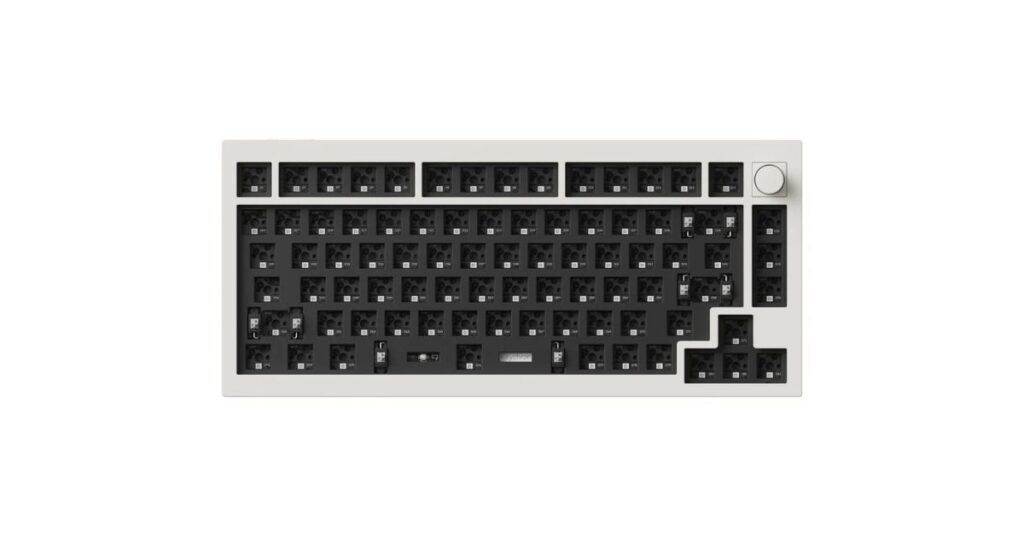
A barebones kit gives you the foundation of your board.
You typically get:
- Case: The outer shell. Plastic, metal, or something in-between (we go into more details about cases here).
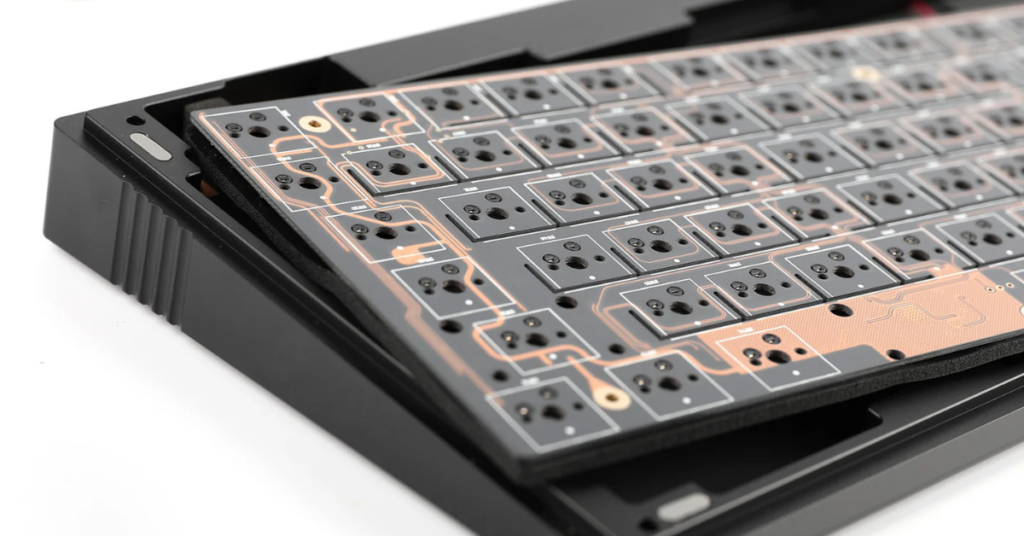
- PCB: The “brain” that registers your keystrokes.
- Plate: Adds structure and holds your switches in place (we go into more details about plates here).
- Screws & Bits: The little things that keep it all together.
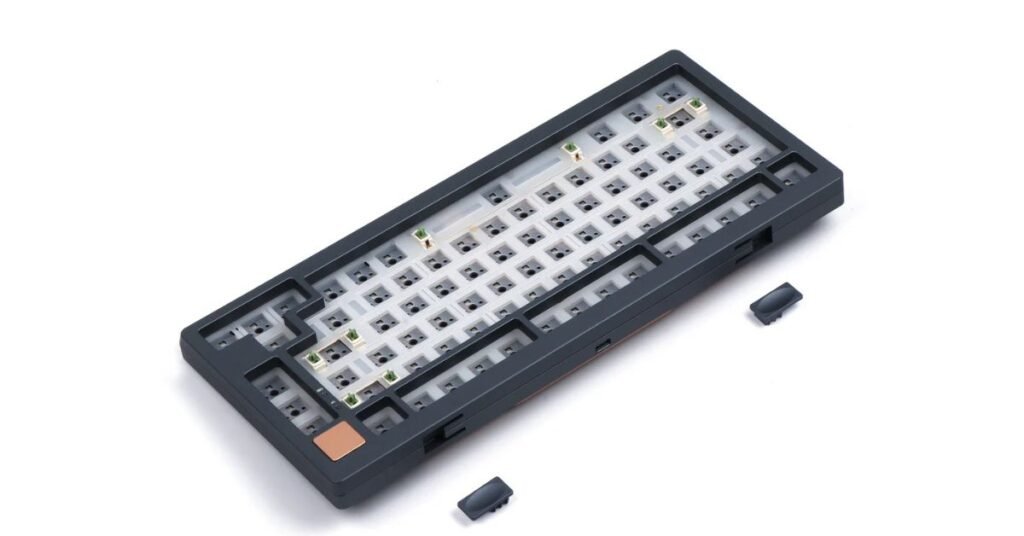
Depending on the kit, you might also get:
- Stabilizers: Help your big keys (like Spacebar) feel smooth.
- Foam: Dampens sound and customizes acoustics.
- Hot-Swappable Sockets; No soldering needed! Just plug and play your switches.
Need more info? We’ve written all about keyboard foams and all about hot-swappable keyboards here.
What’s missing? You’ll add your own switches and keycaps later.
Prices vary from $50 budget-friendly builds to $300 premium showpieces. But no matter your budget, you’re in control.
This is where the fun begins.
How to Choose the Best Barebones Kit
Feeling overwhelmed by all the choices?
You don’t need to know every switch spec or mounting style just yet.
Start here!
This quick decision path will point you toward the kind of kit that fits your budget, style, and workflow.
1. What’s your priority?
→ A: I want the best bang for my buck. 🡒 Go to 2
→ B: I want something unique and beautiful. 🡒 Go to 3
→ C: I want to build a gaming beast. 🡒 Go to 4
→ D: I need something functional for work: spreadsheets, emails, all of it. 🡒 Go to 5
2. Are you okay with plastic or need metal?
→ A: Plastic’s fine if the price is right. 🡒 Budget-Friendly Kit
→ B: I want that solid aluminum feel. 🡒 Mid-Tier Kit with Premium Feel
3. Can you wait a few months for shipping?
→ A: Yes, I’m patient for greatness. 🡒 Group Buy Collector’s Kit
→ B: Nope, I want it on my desk this week. 🡒 Amazon Barebones Kit
4. What kind of gamer are you?
→ A: I play fast-paced games (FPS, MOBAs), need mouse room. 🡒 Compact Gaming Kit (60%/65%)
→ B: I play a mix of games and want quick access to function keys or macros. 🡒 Performance-Focused TKL or 75% Kit
5. What kind of office user are you?
→ A: I live in spreadsheets. Give me a numpad. 🡒 Full-Size or 96% Workhorse Kit
→ B: I want something smaller but still work-friendly. 🡒 TKL or 75% Office Kit
Got your result? Awesome!
Now you know exactly what to look for when you shop.
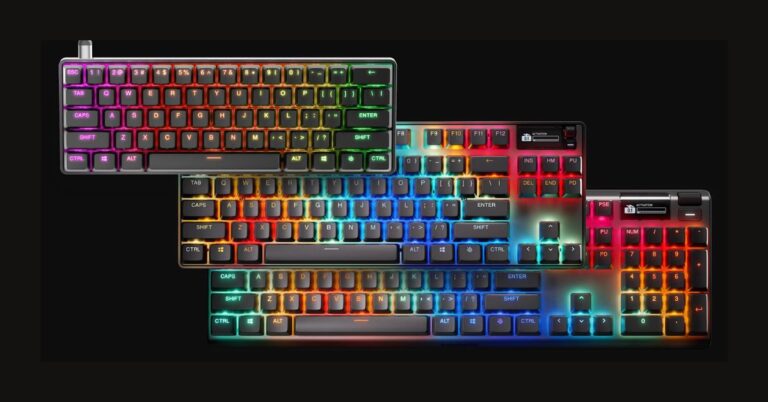
Picking the Right Layout for Your Barebones Keyboard

You’re ready to buy, but (uh-oh) what’s this “layout” talk? Don’t sweat it.
Choosing your keyboard’s layout is like picking your gaming setup.
Do you want a compact cockpit or a sprawling command center?
Your layout decides how many keys you get and how they’re arranged.
Here’s how they typically line up:
| Layout | Keys | Features |
| 60% | ~61 | No numpad, arrows, function row |
| 65% | ~68 | Arrows, no numpad, function row |
| 75% | ~84 | Function row, no numpad |
| TKL | ~87 | No numpad, full features |
| Full-Size | ~100+ | Numpad, arrows, function row |
You can start small with a 60% layout. It’s tiny, perfect for cramped desks or minimalist.
Need arrows? Try a 65% for a bit more wiggle room.
Want a function row but not a desk hog? A 75% or TKL keeps it sleek without sacrificing too much.
If you’re a spreadsheet wizard, go big with a 96% or full-size for all the bells and whistles.
Test your needs.
Type a lot? Arrows and function keys save time.
Game hard? Compact layouts free up mouse space.
Check your desk and measure to avoid a tight squeeze.
Want more info? We breakdown keyboard sizes & layouts here.
Where to Buy Your Keyboard Kit
Now you’re wondering: “Where do I actually buy a keyboard kit?”
You’ve got two big paths: instant gratification from Amazon, or the thrilling patience game of group buys.
Both have their charms.
Amazon’s Instant Wonderland
- Quick delivery, tons of choices. Just search something like “Best keyboard kits with hot-swap and RGB.”
- Brands like Keychron, GMMK, and EPOMAKER dominate the space.
- Kits range from $50 to $150, offering hot-swap PCBs, RGB lighting, and layouts from 60% to full-size.
- Pro tip: Check those reviews.
- Prime shipping is a major plus
Group Buys = Custom Cool Club
- It’s the VIP experience for keyboard nerds.
- Sites like Drop, CannonKeys, or NovelKeys_ host these.
- Think premium aluminum cases, custom layouts, and limited runs from brands like Wuque Studio or Qwertykeys.
- Prices usually hit around $100–$300.
- But here’s the kicker: You wait. Sometimes months.
- Why bother? The exclusivity and aesthetic flex are unmatched.
- Follow Reddit (like r/MechanicalKeyboards) to track live buys.
So what’s your style?
Either way, your dream kit is just a few clicks (or months) away.
What’s Missing from Your Barebones Keyboard?
Let’s talk about what’s missing.
Here’s what you won’t get:
- Switches: You’ll get to pick your style (linear, tactile, clicky, whatever you like).
- Keycaps: You’ll get a blank canvas for you to choose your aesthetic.
- Stabilizers: Some kits include them, some don’t.
- Foam: Some kits come with sound-dampening foam, but many leave it to you to customize your sound.
No worries. This is all part of the fun!
The barebones kit is just your foundation. You get to choose all the details.
Key Features to Look for in Your Kit
The features you choose are what make your board flex.
Let’s go over the goodies:
PCB (Printed Circuit Board)
- Hot-swap sockets let you change switches without touching a soldering iron. Total win for beginners.
- QMK or VIA support gives you full control to remap keys, build macros, unleash chaos (or just make it more ergonomic).
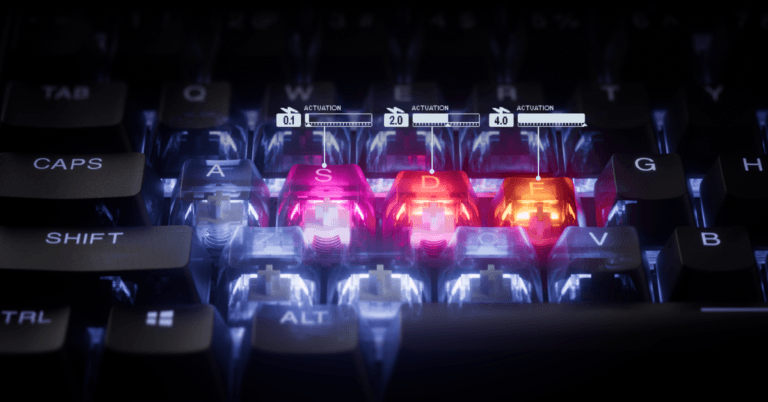
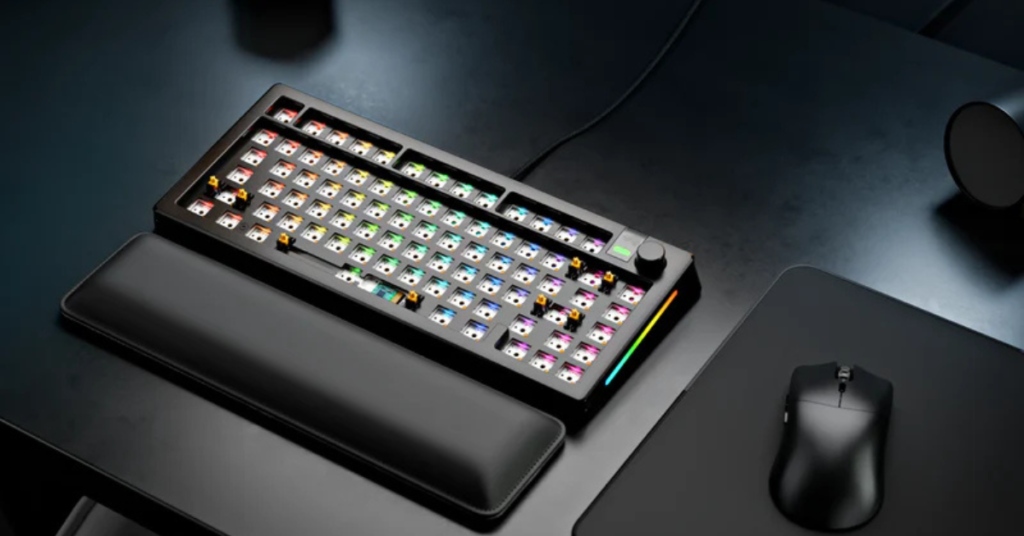
Lighting
- Per-key RGB or underglow adds serious bling.
- Lighting is totally customizable.
Connectivity
- Wireless (Bluetooth or 2.4 GHz) lets you type from the couch or keep your desk ultra clean.
- Prefer zero lag? Wired options are still king for fast responses and reliability.
Mounting Style
- Gasket mount gives a soft, cushioned, bouncy typing feel (learn all about gasket-mounted keyboards here).
- Top mount brings a firmer, snappier experience.
- There are other mounting styles too (like tray mount or plateless), each with its own characteristic. Try a few and see what feels right for you.
Stabilizers
- Screw-in stabilizers are the best, but don’t disregard clip-ins.
- Some kits include them pre-installed.
Sound Foam
- Dials in your board’s acoustics. Less echo, more thock.
- Some kits come with foam layers. Others let you customize your sound profile from scratch.
Rotary Knobs
- Used to control volume, scroll through pages, or even adjust lighting.
- They’re both functional and a major flex.
Whether you’re going for stealthy and smooth or loud and proud, these features are how you make your keyboard truly yours.
Choosing the Right Keyboard Case
Choosing the right case material is like picking your superhero suit.
Let’s go over some of the most popular ones:
Plastic
- Your budget-friendly go-to. Lightweight, colorful, and easy on the wallet (kits range from $50 to $100).
- Polycarbonate plastic has a translucent glow that pairs beautifully with RGB.
- Don’t underestimate it. Plastic can feel solid, especially when paired with sound-dampening foam.
Acrylic
- Funky and eye-catching. Acrylic cases have a unique, futuristic style.
- Bonus: light travels through them like a dream if you’re into glowy, LED-packed builds.
Aluminum
- The premium pick. Hefty, sleek, and solid. It feels like holding a luxury item.
- Kits usually run $100 to $300 and usually have anodized finishes.
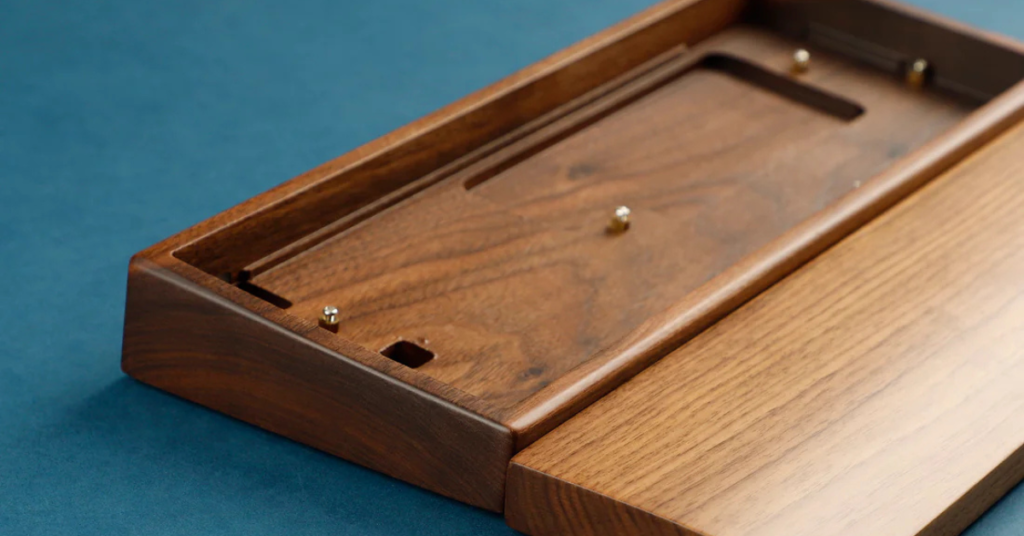
Wood
- Rare and artisan. Think walnut, bamboo, or other warm woods that add a cozy, organic touch.
- These are often group buy exclusives and lean toward the pricier end.
Love a modern, clean aesthetic? Go with aluminum.
Want something playful? Try acrylic.
Prefer something portable and practical? Plastic’s your bestie.
The material you choose isn’t just about looks. It affects the sound, the feel, and even the weight of your build.
Your case is the first thing people notice, so make it count!
Start Your Barebones Kit Keyboard Build
Now it’s time to take the leap!
Buying a keyboard kit is the first step toward crafting a board you’ll be proud of.
You’ve learned the ropes and now you just have to take that first step.
Remember, it’s not just a purchase, it’s a ticket to a hobby that’ll have you geeking out for years to come.
Don’t overthink it. Jump on Amazon for speed, or stalk Drop for those exclusive gems.
Your desk’s begging for this upgrade.
Make that mechanical keyboard kit purchase and build some magic!
Still on the fence? We’ll convince you why you should build a custom keyboard here.
Got your kit? Share this article with a friend!