You’re pounding your keyboard, and your Spacebar doesn’t flop like a fish out of water. It sails smooth like a pro.
That’s the magic of keyboard stabilizers, the secret every new keyboard enthusiast needs to know.
But what are keyboard stabilizers, exactly?
These tiny gadgets keep your bigger keys steady, turning chaotic rattles into buttery presses.
They’re essential for smooth and consistent typing on larger keys like the Spacebar, Enter, and Shift.
In this article, we’ll be going over everything from what they are to how to the sizes that fit various keyboard layouts.
So, let’s not waste anymore time and get into it!
*Keyboard Forge is a participant of affiliate programs and earns from qualified purchases*
What Are Keyboard Stabilizers?
You’re typing away, and your Spacebar feels solid. Thank stabilizers for that. But if you’ve ever wondered what keyboard stabilizers are and why they matter, we wrote this section just for you.
These clever contraptions sit under your longer keys, making sure they don’t tilt or shake like a loose tooth. Without them, your board’s a mess. Stabilizers are the bouncers, keeping the party under control.
So, how do they work?
Picture a metal wire linking two plastic housings.
You press a key (say, Shift) and the switch triggers the stroke.
The stabilizer’s wire balances the force across the keycap, making sure it stays level.
Plastic clips or inserts hold the keycap’s stems, guiding it straight down.
The wire pivots, and the key stays smooth as silk.
You’ll find stabilizers on the larger keys like Spacebar, Enter, and more.
For more info on how keyboard switches work, check out our switch guide.
How Keyboard Stabilizers Stop Rattle

You’ve hit Spacebar, and it clatters like a tin can.
Why? It’s physics. Big keys wobble without help.
Long keycaps, like your 6.25u Spacebar, pivot around a single switch. You press one end, and the other lifts, twisting like a seesaw.
That’s torque at play. The uneven force makes it rattle.
Stabilizers step in with a wire spanning most of the key’s length and distributing pressure to extra stems.
You push anywhere on the key and the wire keeps it flat. No tilt, no chaos.
Rattles sneak in if wires or clips wobble. Lubing keyboard stabilizers fixes that.
How to lube keyboard stabilizers? There’s a bit to it, but here’s a quick overview.
The best lube for keyboard stabilizers is Krytox 205g0. Brush it thinly on wires and stabilizer housings. Test your Spacebar and reapply if it feels sticky. No globs!
Your Spacebar will be humming instead of grumbling.
We’ve got a guide all about keyboard lubes here.
Types of Keyboard Stabilizers
There are two big players in this game: Cherry and Costar. Each type brings its own style.
Cherry stabilizers
- Plastic housings clip or screw in, with a wire linking them.
- Simple, reliable, and you’ll see them everywhere.
Costar stabilizers
- Inserts go into the keycap stems, and a wire hooks them to mounts on the plate (we explain all about keyboard plates here).
- Older, trickier, but loved by retro fans.
You’ll pick based on your board. Let’s break them down!
Cherry Champs
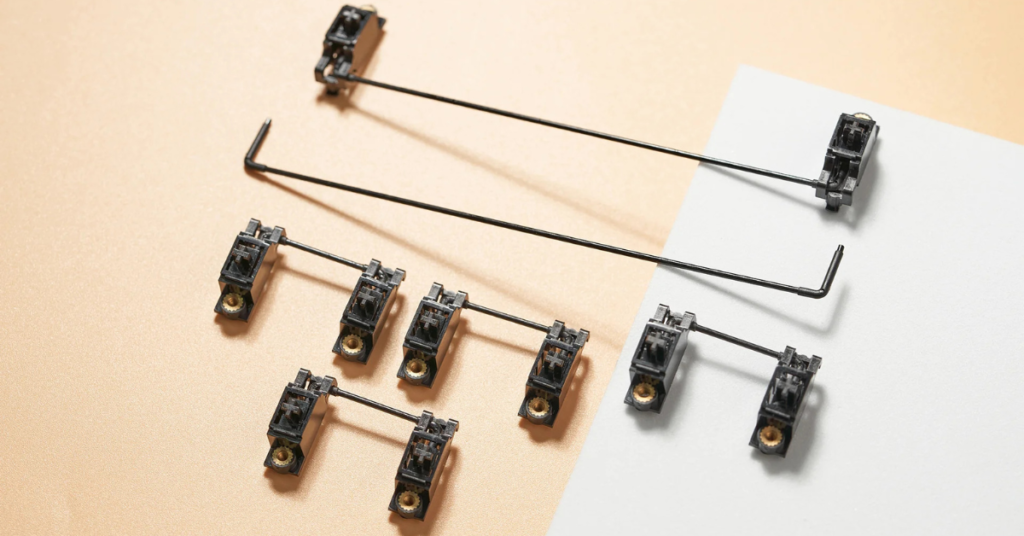
Some of the best Cherry stabilizers for custom keyboards, like Wuque Studio Stabs V3 are MVPs. These sidekicks keep keys smooth with clip-in or screw-in options.
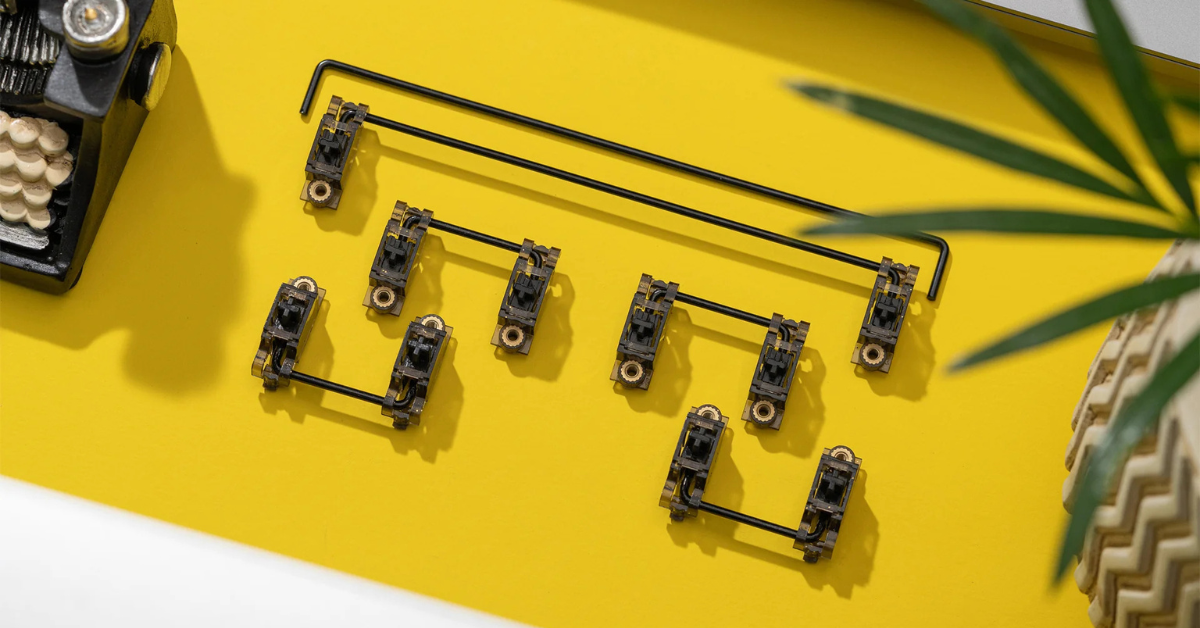
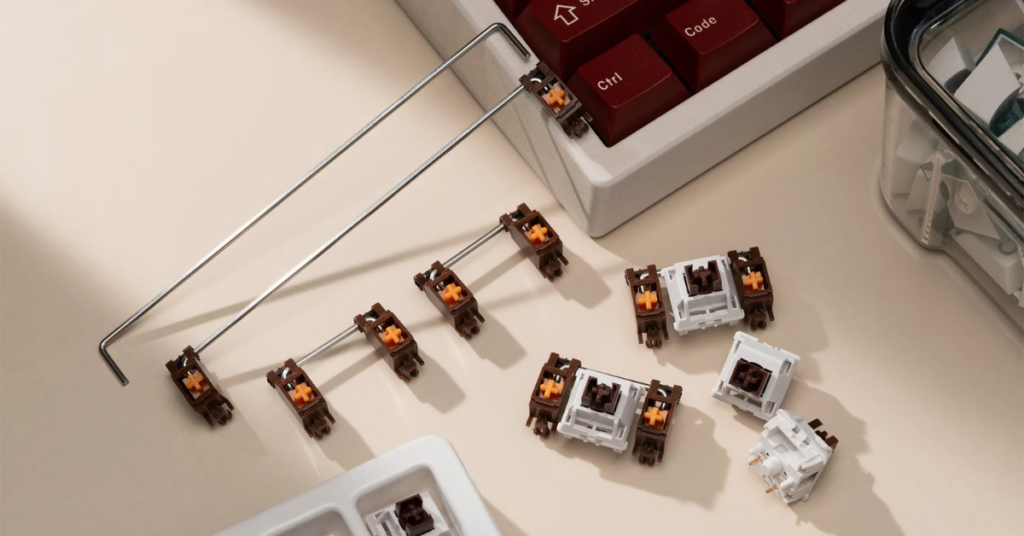
Cherry stabs use two plastic housings, one on each end of the switch.
A metal wire hooks into the housings, rotating in slots of the housing.
The keycap clips onto the top of the plastic housings at both ends
Push anywhere and it glides down evenly. No wobble, just a clean drop.
You’ll hear a soft thud. Lube them for smoothness. Tune them for silence.
They’re everywhere. We’re sure your current board probably has ‘em.
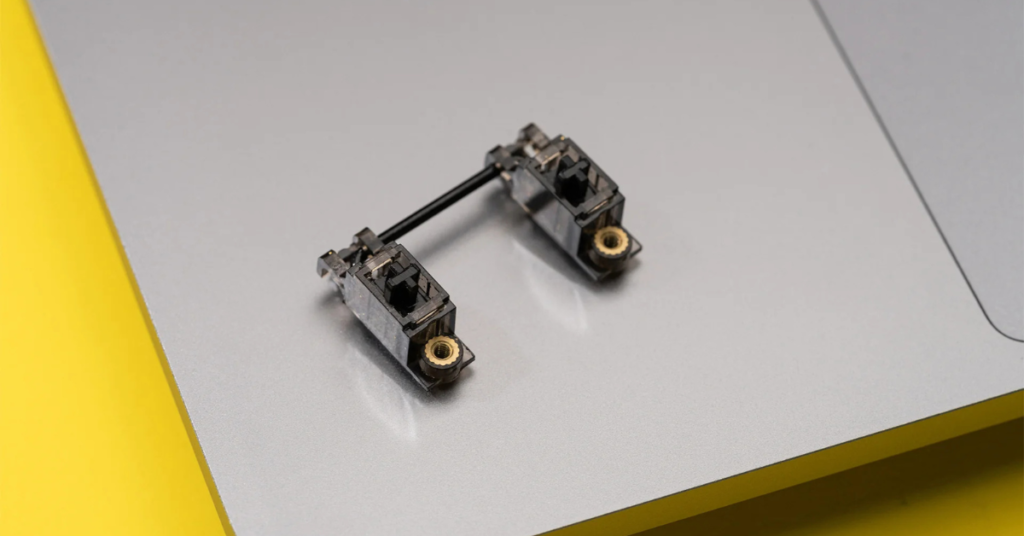
Costar Crew

Costar stabilizers. They’re old-school cool with a twist. These funky friends balance your keys differently.
Costar flips Cherry’s script. The inserts clip into the keycap and mounts clip into the plate.
A wire hooks into notches of the keycap inserts, while also clipping into the mounts on the plate.
They’re less common. OG boards love them.
Installation’s a bit of a puzzle.
Snap the wire in tight or they’ll rattle.
Disassembly’s worse. Use caution, or it’s borked.
Probably stay away if you’re the type to change your keycaps daily to match your outfit (like this guy on Reddit).
Cherry’s Mounting Madness
Now you know that Cherry stabilizers are everywhere, You’ll also need to know that they come in two flavors: plate-mounted and PCB-mounted.
It’s total mayhem. But have no fear. We’ll make it easy for you:
- Plate-mounted Cherries latch onto a metal or plastic plate above the PCB. You clip them in and stability’s tied to the frame.
- PCB-mounted Cherries skip the plate. The housings attach straight to the circuit board, either clipping or screwing in. Your keyboard kit will decide which one you gotta use. Some kits are compatible with both.
Time to get into each style.
Plate-Mounted Stabilizers

These bruisers cling directly to the plate.
The plate (metal or plastic) sits above your PCB, holding switches in place.
You snap Cherry housings into their corresponding cutouts directly on the plate.
The wire slides in, the keycap clips on. You press and it’s rock-solid.
Not every board has a plate. Some kits skip it, like plateless kits (obviously), so make sure to check your build.
You’ll feel the firmness. There’s less flex and more control. Lubed up, they’re quiet champs.
PCB-Mounted Clip-In and Screw-In
So you want straight to the board, no middleman? Clip-in and screw-in styles are your options. Here’s how they work:
Clip-in stabs:
They snap into PCB holes. Their plastic legs lock with a click.
The wire goes where it needs to go.
The keycap goes on, you push the key and the stabs do their thing. Fast and easy, no tools.
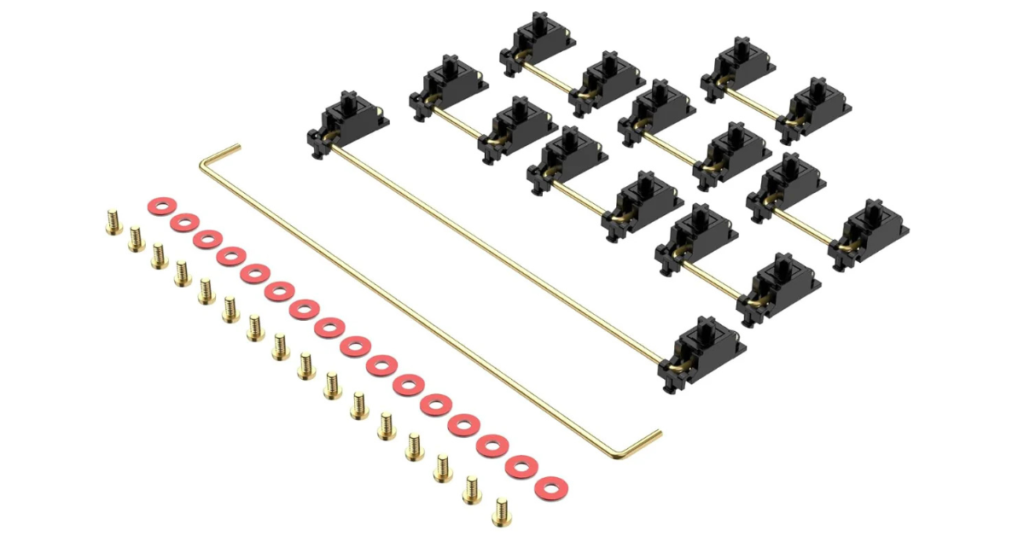
Screw-in stabs:
The threads twist into the PCB with tiny screws.
You tighten ‘em down. They’re extra secure, less wobble.
Put in the wire
Clip on the keycaps and you’re rockin’ and rollin’.
Pick your poison: Clips are quick, screws are sturdy.
Stabilizer Sizes
Now you’re running into these “u” (1u = standard key width) things and thinking to yourself, “What the heck is this?” 2u, 6.25u, and 7u match your keys.
We’ll help you nail the fit with this rundown. Check the table below:
| Size | Keys |
| 2u | Shift, Enter, Backspace, Numpad 0, Numpad Enter |
| 6.25u | Standard Spacebar |
| 7u | Custom Spacebar |
In short:
- 2u stabs handle shorter, long keys (sorta an oxymoron).
- 6.25u rules Spacebars on most layouts (long and lean).
- 7u Spacebars stretch even further (mostly found on custom boards).
Match your keyboard kit. Pay extra attention to that Spacebar size!
Check out our guide on keycap sizes for more info.
Stabilizers by Layout

Now you’re on to building, but how many stabs do you need? Stabilizers for 60% keyboards? You’ll need four (Spacebar, Shift, Enter, Backspace). Other builds like 65%, 75%, TKL, and full-size will shift the count.
Typically, they are the following:
| Layout | Stabilizers Needed | Keys |
| 60% | 4 | Spacebar, Shift, Enter, Backspace |
| 65% | 5 | Spacebar, Shift (2), Enter, Backspace |
| 75% | 5 | Spacebar, Shift (2), Enter, Backspace |
| TKL | 5 | Spacebar, Shift (2), Enter, Backspace |
| Full-Size | 7 | Spacebar, Shift (2), Enter, Backspace, Numpad (2) |
Be sure to double check what kit you’ve got. There are some oddball layouts out there.
Take a look at our keyboard layouts guide to see some of them.
Your Stabilizer Saga Ends Here (For Now)!
You’ve conquered the stabilizer swamp, and now you’re loaded with all you need to know!
Stabilizers tame your big keys, using wires and clips to keep ‘em smooth.
Cherry and Costar bring variety, with plate-mounted and PCB-mounted (clip-in or screw-in) options to bring on more confusion (but not for you!).
Sizes like 2u and 6.25u match your layout. A 60% board needs 4, full-size needs 7.
Now that you know the importance of stabilizers, don’t just sit there. Grab some of our suggested options.
Your stabilizer journey’s just begun. Go make those big keys purr!
Got smooth stabs? Help others by sharing!